 Save
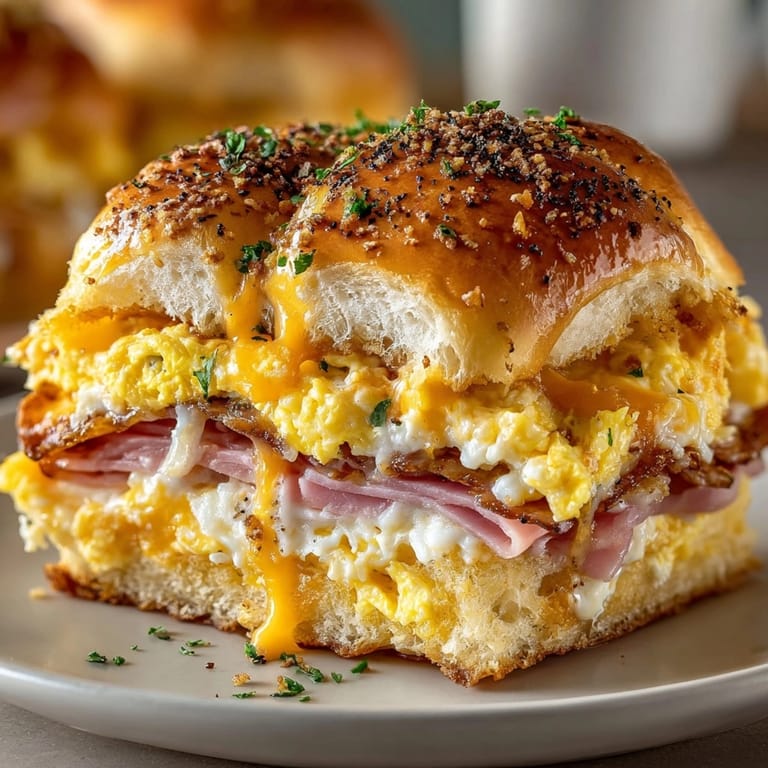
Save This hearty ham and cheese breakfast slider recipe has transformed our weekend brunches from ordinary to extraordinary. The combination of warm, melty cheese, savory ham, and fluffy eggs nestled between buttery rolls creates a crowd-pleasing dish that disappears within minutes at our table.
I first created these sliders when hosting an impromptu family brunch after my sister's baby shower. The ease of preparation allowed me to spend time with guests rather than being stuck in the kitchen, and now they've become our go-to whenever we have overnight visitors.
Ingredients
- Slider rolls or Hawaiian rolls: These sweet, soft rolls provide the perfect foundation and their connected nature makes assembly incredibly simple
- Deli ham: Opt for quality ham with minimal processing for the best flavor profile I prefer black forest or honey ham for a touch of sweetness
- Swiss cheese: The nutty flavor melts beautifully and complements the ham perfectly Look for aged Swiss for more pronounced flavor
- Eggs: The scrambled egg layer adds protein and creamy texture Farm fresh eggs yield the best color and taste
- Unsalted butter: Forms the base of our glaze and helps achieve golden brown tops European style butter has a higher fat content for richer results
- Dijon mustard: Adds tanginess to cut through the richness Whole grain works too if you prefer more texture
- Worcestershire sauce: This umami bomb ingredient enhances all the other flavors A little goes a long way
- Poppy seeds: Optional but adds a delightful crunch and visual appeal Toast them briefly for enhanced flavor
- Dried minced onion: Provides subtle onion flavor without the moisture of fresh onions Helps prevent soggy sliders
Tired of Takeout? 🥡
Get 10 meals you can make faster than delivery arrives. Seriously.
One email. No spam. Unsubscribe anytime.
Instructions
- Prepare the Oven and Baking Dish:
- Preheat your oven to exactly 350°F to ensure even baking throughout. Take time to properly grease your baking dish, focusing on the corners and sides where sticking typically occurs. A light coating of butter or cooking spray works perfectly. This step prevents the rolls from adhering to the dish during baking and makes serving much easier.
- Create the Perfect Scrambled Eggs:
- Whisk eggs and milk vigorously until the mixture shows tiny bubbles on the surface, which indicates proper incorporation of air. Season generously with salt and pepper, remembering that eggs need proper seasoning. Heat a nonstick skillet over medium heat until you can feel warmth when holding your hand an inch above the surface. Pour in the egg mixture and let it set slightly before gently folding with a silicone spatula. Remove from heat when eggs are just set but still glossy, as they will continue cooking in the oven.
- Assemble the Base Layer:
- Carefully slice the connected rolls horizontally, keeping them intact as one piece. Place the bottom half in your prepared baking dish, making sure it fits snugly. Gently press down to create a solid foundation that will support your fillings without becoming soggy.
- Layer the Fillings Strategically:
- Distribute the scrambled eggs evenly across the roll base, pressing down slightly to create a level surface. Arrange ham slices to cover the entire surface, slightly overlapping to ensure every bite contains meat. Position cheese slices in a pattern that guarantees melted cheese in each slider, tearing pieces as needed to achieve complete coverage.
- Create the Flavor Glaze:
- In a small bowl, whisk together melted butter, Dijon mustard, and Worcestershire sauce until fully emulsified. The mixture should have a smooth, uniform appearance without any separation. Add poppy seeds and dried minced onion, stirring to distribute evenly throughout the glaze. This mixture will infuse the tops of the rolls with incredible flavor while creating a beautiful golden finish.
- Apply the Glaze Thoroughly:
- Using a pastry brush, generously coat the tops of the rolls with the prepared glaze. Be particularly attentive to the edges and crevices, as these areas tend to dry out during baking. The glaze not only adds flavor but also creates that desirable golden, slightly crispy exterior that makes these sliders irresistible.
- Perfect the Baking Process:
- Cover the baking dish with foil, crimping the edges to create a good seal that traps steam and helps melt the cheese completely. Bake covered for exactly 15 minutes, then remove the foil and continue baking for 5 more minutes. This two-stage baking process ensures the fillings heat through completely while allowing the tops to achieve the perfect golden brown finish.
- Rest Before Serving:
- Allow the sliders to rest for a full 5 minutes before cutting and serving. This resting period lets the cheese set slightly and makes the sliders easier to separate and serve. It also allows the flavors to meld together for the best taste experience.
 Save
Save The Worcestershire sauce is my secret weapon in this recipe. I discovered its transformative power accidentally when I ran out of my usual seasoning blend. Just that tiny teaspoon elevates these sliders from good to absolutely craveable, adding a complex umami note that guests always notice but can never quite identify.
Make-Ahead Instructions
These sliders are perfect for preparing in advance. You can assemble everything up to the point of adding the glaze, then cover and refrigerate overnight. In the morning, bring them to room temperature for about 20 minutes, add the freshly made glaze, and bake as directed. The cold sliders may need an extra 2-3 minutes of baking time. This make-ahead option has saved me countless times when hosting holiday brunches or when family visits.
Ingredient Substitutions
For those avoiding pork, turkey or chicken deli meat works beautifully in this recipe. The texture is slightly different but still delicious. Plant-based ham alternatives can also work but tend to be drier, so consider adding a thin layer of additional butter or mayo to compensate. If dairy restrictions are a concern, dairy-free cheese slices have improved tremendously in recent years. The Violife and Follow Your Heart brands melt particularly well for this application. For gluten-sensitive guests, several companies now make gluten-free slider rolls that can be substituted with minimal impact on the final result.
Serving Suggestions
These sliders pair wonderfully with fresh fruit for a balanced breakfast spread. I particularly love serving them alongside a citrus salad with mint to cut through the richness. For a more substantial brunch, add a simple arugula salad dressed with lemon vinaigrette or a cup of tomato soup for dipping. If serving at a gathering, arrange the sliders on a wooden board surrounded by clusters of grapes, orange segments, and fresh berries for a beautiful presentation that requires minimal extra effort.
Seasonal Adaptations
Spring Variation Add thinly sliced asparagus to the egg mixture and substitute Gruyère cheese Summer Twist Include diced ripe tomatoes and fresh basil between the egg and ham layers Fall Favorite Add thinly sliced apple and use smoked gouda in place of Swiss cheese
Success Stories
I brought these sliders to my daughter's dance team breakfast and received so many requests for the recipe that I ended up emailing it to the entire parent group. One mom told me she now makes them every Sunday for her family. Another friend adapted the recipe for her office breakfast potluck and was immediately put in charge of breakfast for all future gatherings. The combination of ease and impressive results makes this recipe a consistent winner.
 Save
Save These sliders are a perfect blend of convenience and flavor, making them ideal for any occasion. Enjoy the delicious results that are sure to impress!
Recipe Questions
- → Can I use a different cheese than Swiss?
Absolutely. Cheddar, provolone, or even mozzarella melt well and offer delicious flavor variations.
- → Are these good for making ahead?
Yes, assemble the sliders, cover, and chill overnight. Bake just before serving for best results.
- → What sides go well with these sliders?
Pair with fresh fruit, roasted potatoes, or a crisp green salad for a balanced breakfast spread.
- → Can I make these without pork?
You can substitute turkey or chicken deli meat for the ham to fit your dietary preferences.
- → How do I prevent soggy sliders?
Let the eggs cool before assembling and avoid adding too much glaze to keep sliders from getting soggy.
- → Is it necessary to use poppy seeds?
No, poppy seeds are optional and mainly add texture and color to the buttery topping.