 Save
Save Last Tuesday, I was standing in my kitchen feeling frustrated about another protein bar that tasted like cardboard, when it hit me—why not make cheesecake cups that actually taste indulgent but pack real nutrition? I'd been buying cottage cheese for smoothies but never thought to use it as the star of a dessert. That afternoon, I blended it smooth, mixed it with Greek yogurt and eggs, and somehow created these little cups of pure creamy magic that made my whole apartment smell like a proper bakery. My roommate came home, grabbed one straight from the fridge, and asked if I'd bought them from that fancy cafe downtown.
I brought these to a Sunday brunch potluck expecting people to politely take one and move on to the brownies. Instead, I watched three different guests come back for seconds, asking what restaurant I'd ordered from because they couldn't believe homemade dessert could be this silky. That's when I realized these cups had quietly become the thing I'd make whenever I wanted to impress someone without sounding like I'd spent hours in the kitchen.
Ingredients
- Almond flour: Creates a nutty, substantial base that doesn't taste like fitness food—the fat content keeps it tender and real.
- Melted coconut oil: Binds everything and adds a subtle warmth; melted butter works too if you prefer something less tropical.
- Honey or maple syrup: Just enough sweetness in the crust to make it feel like dessert from the first bite.
- Cottage cheese: The secret weapon that makes these creamy and high-protein; blend it until completely smooth or you'll feel the curds.
- Greek yogurt: Adds tang and helps the texture stay light instead of dense like traditional cheesecake.
- Eggs: The binding agent that helps everything set up properly without needing a water bath.
- Cornstarch: Stabilizes the filling so it stays silky rather than becoming dry or watery when chilled.
- Granulated sweetener: Erythritol and stevia work beautifully here; regular sugar works too if you're not watching carbs.
- Vanilla extract: One teaspoon is enough to round out all the flavors without making it taste perfumey.
- Lemon zest: Optional but genuinely transformative—it brightens everything and makes people ask what the secret ingredient is.
Tired of Takeout? 🥡
Get 10 meals you can make faster than delivery arrives. Seriously.
One email. No spam. Unsubscribe anytime.
Instructions
- Prepare your workspace:
- Preheat your oven to 175°C and line a muffin tin with six silicone or paper liners—silicone is reusable and makes removing the cups easier, but paper works fine too.
- Make the base:
- Mix almond flour, melted coconut oil, honey, and salt in a small bowl until it looks like wet sand. Press this mixture firmly into each liner—use the bottom of a measuring cup to get an even, compact base that won't crumble when you bite it.
- Blend the cottage cheese smooth:
- This is where the magic happens: put cottage cheese and Greek yogurt in your blender and blend on high for at least 60 seconds, scraping down the sides halfway through, until you get absolutely zero graininess. This step determines whether you'll love these or feel disappointed, so don't rush it.
- Build the filling:
- Add eggs, cornstarch, sweetener, vanilla, and lemon zest to the blended cottage cheese mixture and pulse until completely combined and silky. The texture should look like smooth pudding, not streaky or lumpy.
- Fill the cups:
- Carefully pour the filling over each base, dividing it evenly—fill them almost to the top but leave a tiny bit of space since they'll puff slightly as they bake.
- Bake with attention:
- Bake for 18 to 22 minutes; you're looking for the edges to be set and the center to have just the tiniest wobble when you gently shake the tin. Overbaking makes them dense and slightly rubbery, so start checking at 18 minutes.
- Cool and chill:
- Let them sit at room temperature until they're cool enough to handle, then refrigerate for at least 30 minutes—this is when they transform from warm and jiggly to creamy and perfect. The flavor actually improves after a few hours in the fridge.
- Top and serve:
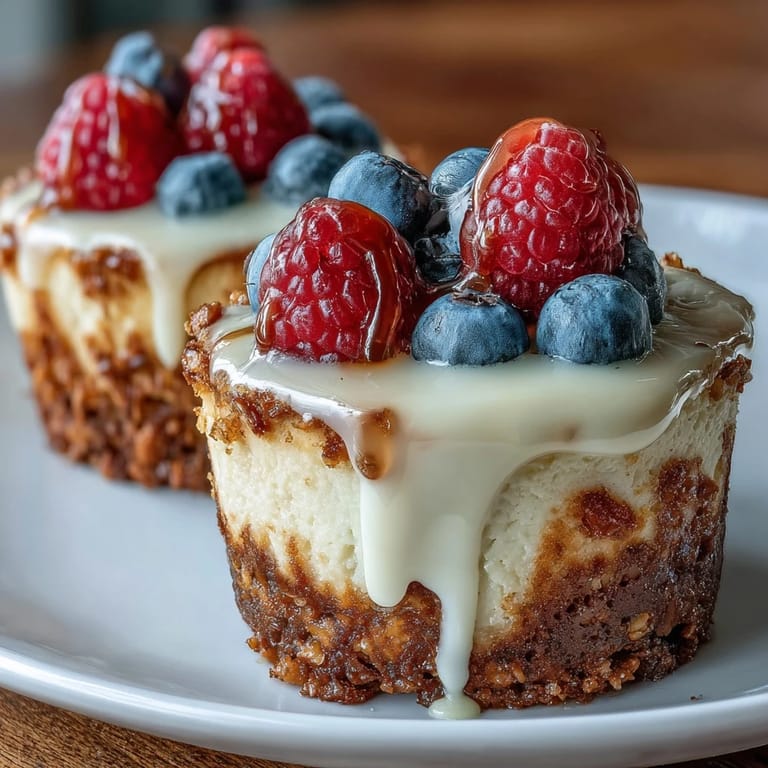
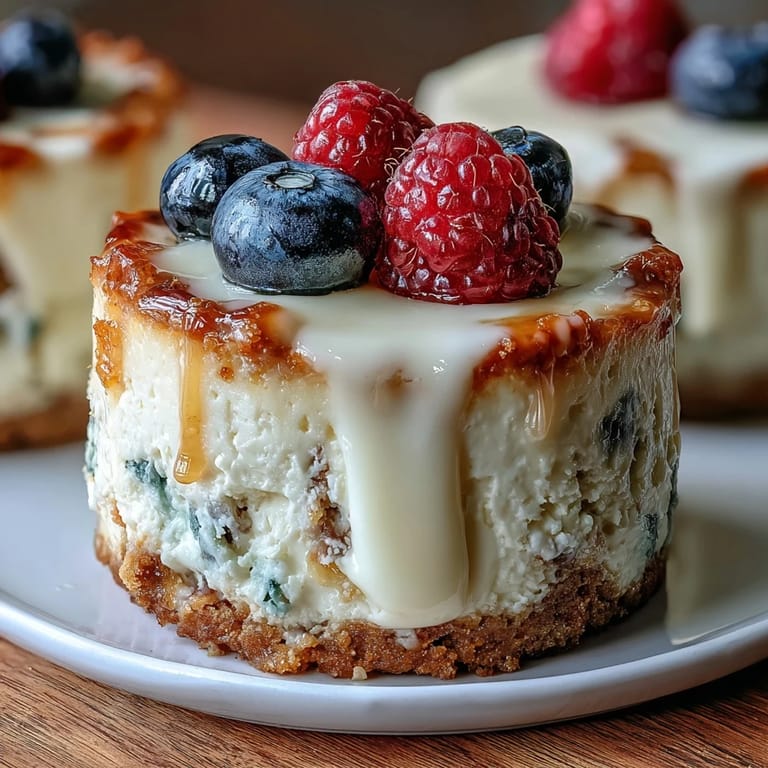
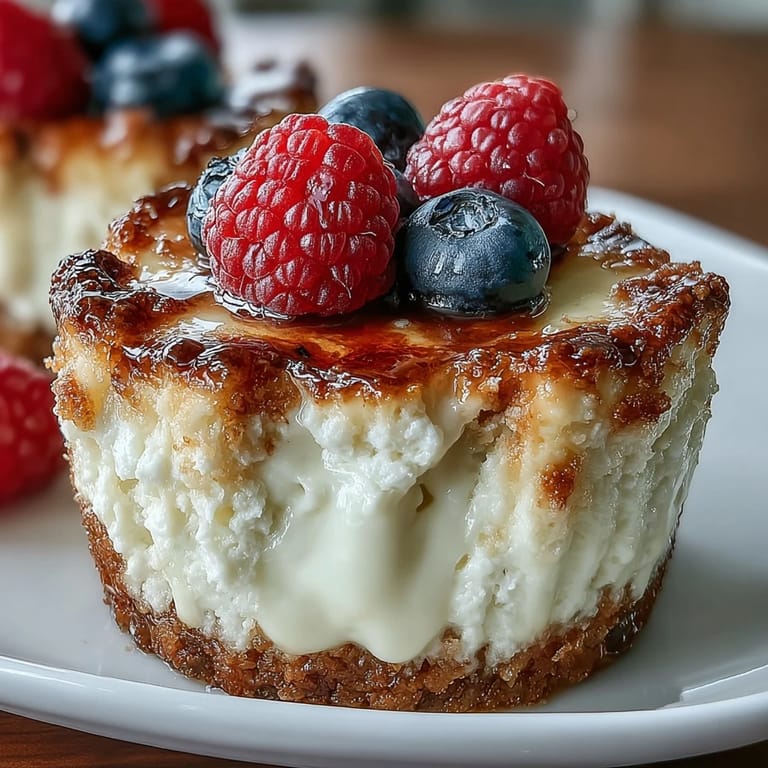
- Add fresh berries and a tiny drizzle of honey right before eating, or keep them plain for a pure cheesecake experience.
 Save
Save My mom called me last week asking for the recipe because apparently my sister had mentioned these cups casually at dinner, and my mom wanted to make them for her book club. That moment—when something you created in your kitchen becomes something your family asks for and shares—that's when you know you've actually landed on something special.
Why The Protein Matters
Twelve grams of protein per cup means you can actually enjoy dessert as part of your eating plan instead of feeling like you're cheating or derailing your goals. The cottage cheese does the heavy lifting here, and pairing it with Greek yogurt creates this dense, satisfying richness that keeps you feeling full longer than regular cheesecake ever would. I started bringing these to the office instead of reaching for vending machine cookies, and my afternoon energy completely changed.
Making Them Your Own
The beauty of these cups is how easily they bend to what you actually want to eat. I've made them with a swirl of berry compote before baking, added cardamom to the filling for warmth, and even experimented with a thin layer of dark chocolate on the base. Your blender becomes your friend here because you can add virtually any flavor you love—matcha powder, cinnamon, even a tiny pinch of espresso powder—without throwing off the structure.
Storage and Make-Ahead Strategy
These actually improve after sitting in the fridge for a full day because the flavors settle and the texture becomes even creamier and more custard-like. I make a batch on Sunday and they last through most of the week, which means I always have something genuinely satisfying when a sugar craving hits at 10 PM. You can also freeze them for up to two months—let them thaw in the fridge for about 30 minutes before eating.
- Store them in an airtight container with parchment between layers so they don't stick together.
- The berry topping is best added fresh right before eating, but you can make a berry compote ahead and spoon it on cold.
- Let frozen cups thaw in the fridge rather than at room temperature to keep the texture perfect.
 Save
Save These little cups quietly became my answer to the question of how to actually enjoy dessert while taking care of yourself. They're proof that healthy food doesn't have to taste like punishment.
Recipe Questions
- → Can I use oat flour instead of almond flour?
Yes, substituting oat flour for almond flour works well for a nut-free variation without compromising texture.
- → How do I achieve a smooth filling texture?
Blending cottage cheese and Greek yogurt until completely smooth before adding other ingredients ensures a creamy filling.
- → What sweeteners pair best in this dish?
Natural options like honey, maple syrup, erythritol, or stevia provide sweetness without overpowering flavors.
- → How long should I chill the cups?
Chilling for at least 30 minutes helps firm the texture and enhances the flavors before serving.
- → Can fresh berries be added before baking?
Fresh berries are best added after chilling to maintain their texture and freshness.
- → Is it possible to make a lactose-free version?
Using lactose-free cottage cheese and yogurt substitutes accommodates lactose sensitivity while keeping the dish intact.