 Save
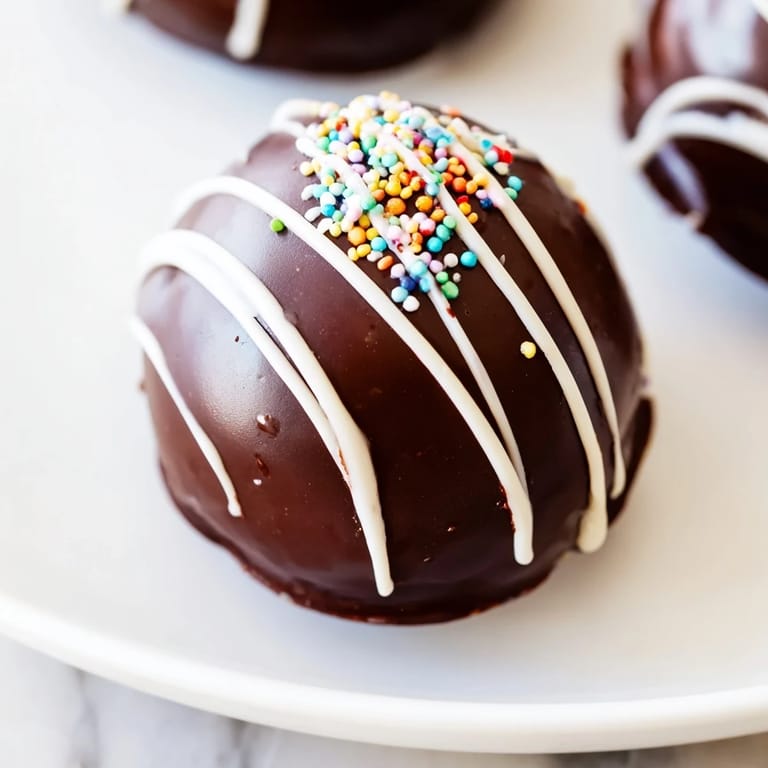
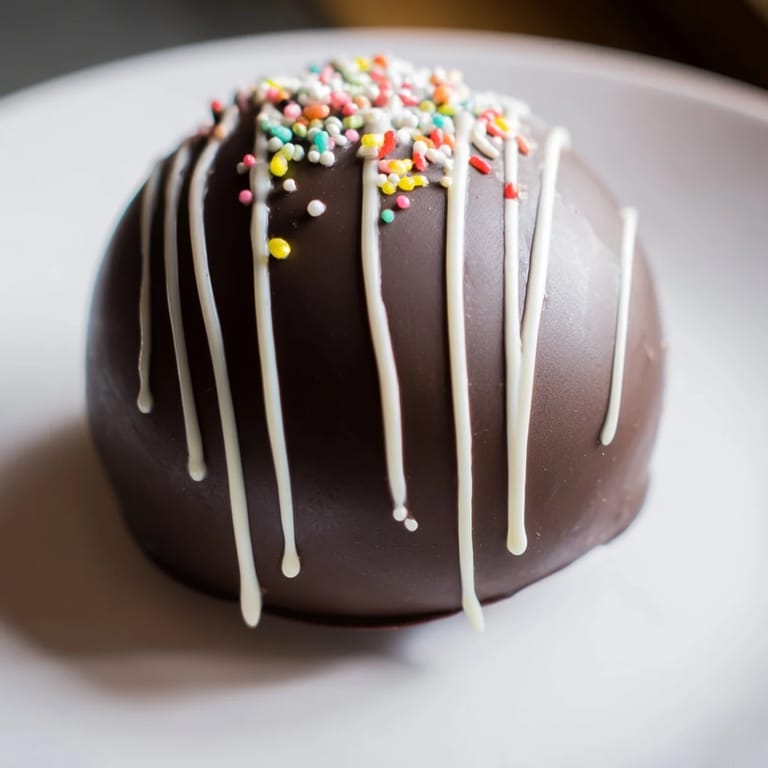
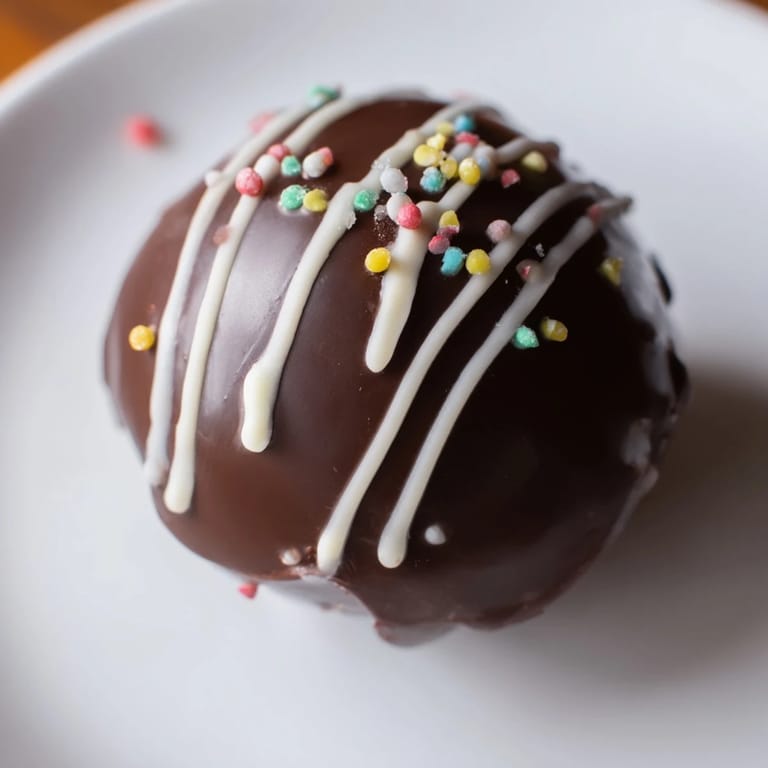
Save There's something magical about watching a mug of plain milk transform into liquid decadence with just one small sphere. I discovered hot chocolate bombs on a gray December afternoon when a friend showed up with a mysterious wrapped package—inside were these glossy chocolate orbs that seemed too beautiful to disturb. She dropped one into my steaming mug and I watched, mesmerized, as it split open like an edible secret, releasing a cloud of cocoa and marshmallows that turned everything creamy and rich. Now I make them whenever I need to turn an ordinary moment into something memorable.
Last winter I made a batch for my niece's birthday party and three kids actually fought over who got to drop theirs into their mug first—I'd never seen hot chocolate create that kind of genuine excitement. The ritual of it matters as much as the flavor; there's anticipation built into the experience. Watching someone's face light up when the shell cracks open never gets old, even after making dozens of these.
Ingredients
- High-quality dark or milk chocolate, chopped (300 g): The foundation of everything—cheap chocolate tastes waxy and hollow, but good chocolate creates that snap and shine you see in the finished bombs.
- Unsweetened cocoa powder (6 tbsp): This is your richness without extra sweetness, the ingredient that makes people say this tastes like real chocolate, not candy.
- Powdered sugar (6 tbsp): Dissolves instantly and adds sweetness without grittiness, which matters when you're sipping.
- Mini marshmallows (1 cup): Non-negotiable for that moment when they start floating on top and catching your lip with warmth.
- White chocolate, melted (50 g, optional): For drizzling—it's purely decorative but makes them look like a gift worth giving.
- Sprinkles (to taste): The unnecessary detail that makes them feel festive and personal.
Tired of Takeout? 🥡
Get 10 meals you can make faster than delivery arrives. Seriously.
One email. No spam. Unsubscribe anytime.
Instructions
- Melt your chocolate gently:
- Use a double boiler or microwave in short 30-second bursts, stirring between each one. You're looking for that point where it's silky and warm but not separated or scorched—it should flow like silk, not sludge.
- Coat your molds with intention:
- Using a pastry brush, paint the chocolate inside each silicone sphere with a thick, even layer, rotating as you go so gravity doesn't leave thin spots at the top. You want sturdy shells that won't crack when you handle them.
- Double-layer for strength:
- Chill the first layer until set, then add a second coat. This is the move that keeps your bombs from splitting prematurely—patience here pays off.
- Unmold with care:
- Gently flex the silicone mold to loosen the shells, then invert slowly. If a shell sticks, wait another minute before trying again; forcing it only creates cracks.
- Fill and balance:
- Measure out 1 tablespoon each of cocoa powder and powdered sugar into half your shells, then top with a generous handful of mini marshmallows—the marshmallows should peek out slightly.
- Seal the two halves together:
- Warm a plate in the microwave for 10 seconds, then press the rim of an empty shell half onto it to soften the edge just barely. This creates a tiny bit of melted chocolate that acts like glue when you press the filled half against it.
- Decorate and set:
- Drizzle white chocolate over the seam if you want, add sprinkles while still tacky, then let everything firm up at room temperature or in the fridge for a few minutes.
 Save
Save The first time one of these actually worked perfectly—when the seam was smooth, the chocolate snapped cleanly as someone stirred their milk, and the marshmallows came floating up like tiny edible clouds—I felt genuinely proud. It's a small thing, but there's honesty in handmade food that matters.
The Melting Moment
The actual performance of these bombs is half the appeal. When you pour hot milk over that chocolate shell, the sound changes first—a soft crackling as heat hits cold chocolate. Then the shell breaks open and everything tumbles out: cocoa powder clouds the milk briefly before settling, marshmallows bob to the surface, and the whole thing transforms from brown water to something thick and luxurious. This is why people are willing to sit still and watch.
Flavor Variations Worth Trying
The basic recipe is vanilla-adjacent and familiar, but these bombs are a blank canvas for creativity. Add cinnamon and a tiny pinch of cayenne to the cocoa mixture for something spiced and warming. Replace half your marshmallows with crushed candy canes for a winter version that tastes like nostalgia. You could even stir in a teaspoon of instant espresso powder to the cocoa mixture if you want to surprise someone with a mocha bomb, or add crushed Oreos for chocolate-on-chocolate richness.
Storage and Gifting
These last up to two weeks in an airtight container at room temperature, which means you can make them ahead without stress. They're elegant enough to wrap and give as gifts—simple tissue paper and twine are all they need, and people always assume they cost more than they did. The best part is that giving someone a hot chocolate bomb is giving them permission to slow down and enjoy a moment of ritual, which feels more generous than candy alone.
- Stack them gently in a container with parchment between layers so they don't stick together.
- Keep them away from humidity or they'll sweat and lose their shine.
- Wrap them while they're at room temperature so condensation doesn't form under the wrapper.
 Save
Save These bombs are proof that sometimes the most impressive things are actually simple, and that the real joy of cooking is in watching someone else experience what you made. Keep making them.
Recipe Questions
- → What type of chocolate works best for the shells?
High-quality dark or milk chocolate provides smooth, sturdy shells and rich flavor. Combining both can enhance taste complexity.
- → How can I ensure the shells are fully set?
Apply two even layers of chocolate to the molds, refrigerating between layers for at least 10 minutes each, ensuring a firm, crack-resistant shell.
- → Can I customize the filling flavors?
Yes, adding cinnamon, chili powder, or flavored marshmallows offers unique twists to the classic filling.
- → What is the best method to seal the halves properly?
Gently warm the rim of an empty shell on a heated plate to slightly melt edges before pressing onto the filled half, creating a secure seal.
- → How should these treats be stored?
Keep them in an airtight container at room temperature away from heat and moisture for up to two weeks.