 Save
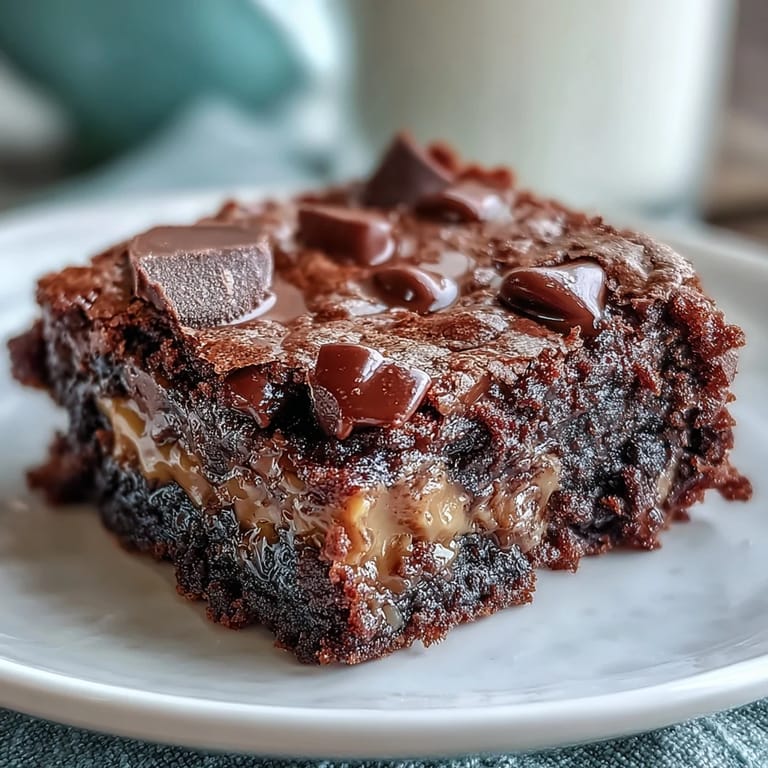
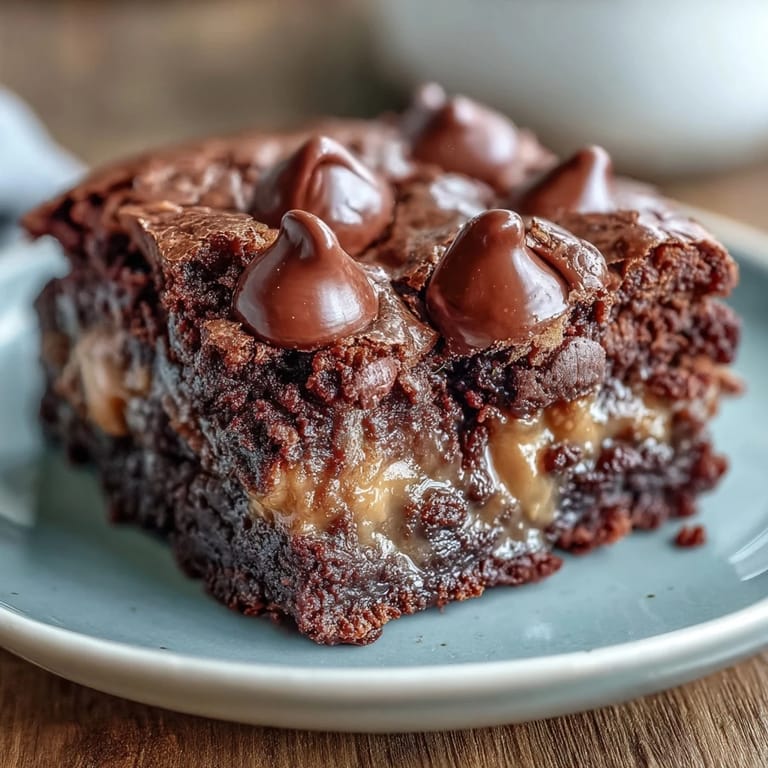
Save The smell alone stopped me in my tracks at that summer potluck—warm chocolate mixing with roasted peanut butter, something so impossibly rich I had to track down the person who made it. Turns out it was this ridiculous dump cake situation that requires zero technique and delivers maximum comfort. My roommate and I may have eaten half of it straight from the pan with forks while it was still too hot to properly handle. Sometimes the best desserts are the ones that make you feel like a kid again.
I made this for my dad's birthday last winter and watched three grown men silently demolish half the pan while arguing over football. There's something deeply satisfying about watching people genuinely light up over something so simple and unpretentious. My niece asked for the recipe before she'd even finished her first serving.
Ingredients
- Devils food chocolate cake mix: The box shortcut that actually works—dont overthink it, the richness comes from the peanut butter layer
- Creamy peanut butter: Room temperature is crucial here so it spreads evenly without fighting you
- Unsalted butter melted: The fat that makes the cake mix actually taste homemade
- Whole milk: Creates a tender crumb and helps the batter come together smoothly
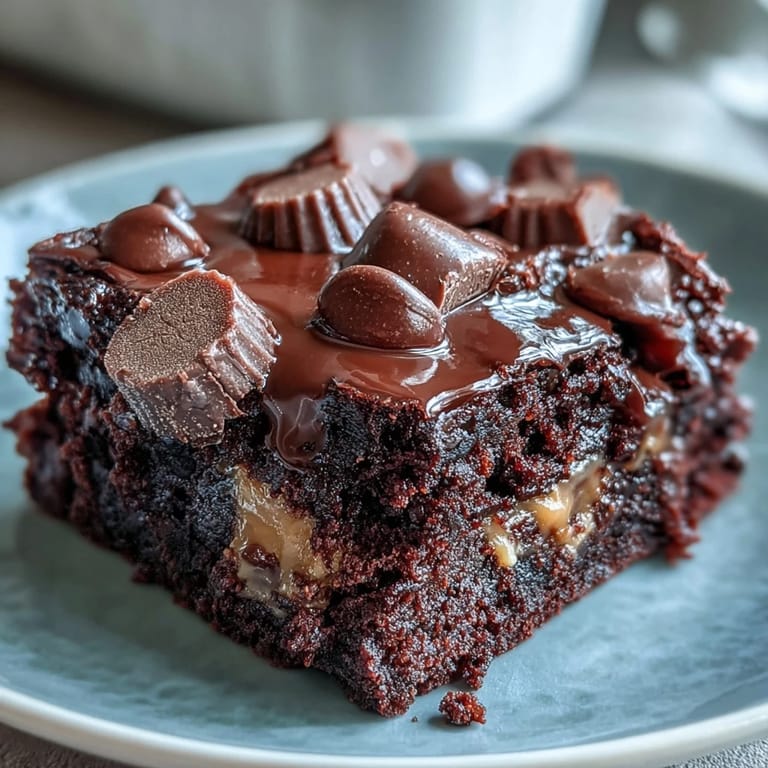
- Mini peanut butter cups: The little ones melt better than full size and distribute more evenly throughout
- Semi sweet chocolate chips: Cuts through some of the sweetness and adds those pockets of pure chocolate intensity
Tired of Takeout? 🥡
Get 10 meals you can make faster than delivery arrives. Seriously.
One email. No spam. Unsubscribe anytime.
Instructions
- Get your oven ready:
- Preheat to 350°F and give your 9x13 baking dish a quick spray with nonstick—this dessert sticks more than you'd expect.
- Create the peanut butter layer:
- Spread that room temperature peanut butter across the bottom of your dish like you're frosting a cake, right to the edges.
- Whisk the batter together:
- Dump the cake mix into a bowl with melted butter and milk, whisk until mostly smooth—tiny lumps are totally fine.
- Layer it up:
- Pour the batter straight over the peanut butter layer, spread it gently so you dont disturb whats underneath.
- Add the good stuff:
- Scatter those mini peanut butter cups and chocolate chips across the top like you're seasoning something—dont be shy about coverage.
- Bake until set:
- 35 to 40 minutes until the cake feels firm and a toothpick comes out with moist crumbs but not raw batter.
- The hardest part—waiting:
- Let it cool at least 15 minutes or that peanut butter layer will be molten lava when you cut into it.
 Save
Save This became my emergency contribution for every last minute gathering because nobody believes something this involved came from a box mix. My friend actually asked if I'd consider selling them until I told her the secret.
Making It Your Own
Throw in some chopped roasted peanuts if you need texture—sometimes I'll do half a cup mixed with the chocolate chips. The crunch keeps every bite interesting and makes people think you put way more thought into it than you actually did.
Serving Strategy
Warm with vanilla ice cream is non negotiable at my house—that cold cream hitting the warm chocolate peanut butter situation creates something entirely new. If you're serving it at a party, cut it in the kitchen and bring out neat squares because spooning it out of the pan looks like a mess, however delicious.
Storage And Make Ahead Tips
This actually develops more flavor overnight if you can resist eating it immediately—the peanut butter permeates the cake in the best possible way. Wrap it tight or it'll dry out faster than you'd expect.
- Room temperature is fine for two days if your kitchen isnt too warm
- Refrigerate it if you need it to last the week—the cold makes the peanut butter layer fudgy and intense
- Freeze individual portions wrapped in plastic and they'll reheat beautifully in the microwave
 Save
Save Some recipes are just pure joy from start to finish, and this one delivers that feeling in spades with almost zero effort on your part.
Recipe Questions
- → Can I use natural peanut butter instead of creamy?
Creamy peanut butter works best as it spreads smoothly and creates the desired gooey layer. Natural peanut butter with oil separation may not spread evenly and could affect the texture.
- → Should I serve this warm or at room temperature?
This dessert is delicious served warm (after cooling 15 minutes) when the peanut butter is still gooey and melted. Room temperature is also wonderful and makes for cleaner slices. You can gently reheat leftovers if preferred.
- → Can I make this with a different cake mix flavor?
While devil's food chocolate cake creates the classic flavor, you could experiment with German chocolate, fudge, or dark chocolate mixes. Avoid yellow or vanilla cake as the chocolate-peanut butter combination is essential to this dessert's appeal.
- → How do I know when the cake is done baking?
The cake is ready when the top is set and a toothpick inserted into the center comes out with moist crumbs but not wet batter. The cake will continue to set as it cools, so don't overbake or you'll lose the gooey texture.
- → Can I freeze this dessert?
Yes! Cool completely, wrap tightly in plastic wrap and foil, then freeze for up to 3 months. Thaw overnight at room temperature before serving. The texture may be slightly denser after freezing but still delicious.
- → What size baking dish should I use?
A standard 9x13-inch baking dish is ideal for this recipe. Using a smaller dish could cause overflow during baking, while a larger dish might result in a thinner cake that overcooks.