 Save
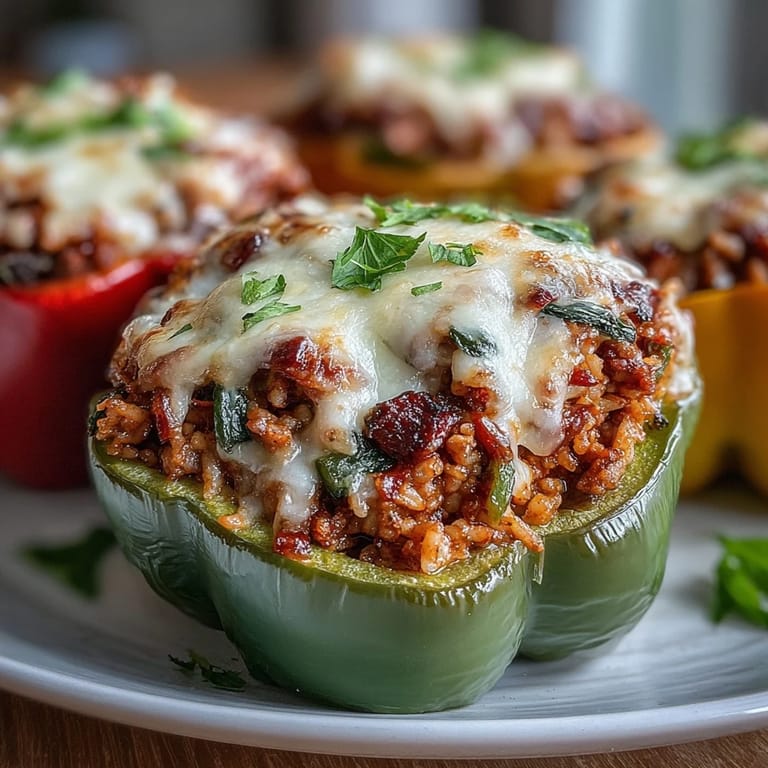
Save Bell peppers always catch my eye at the market, their glossy skins promising something festive. The first time I stuffed them, I remember the sizzle from the pan as onions met hot oil and the fragrant mix of garlic, cumin, and smoked paprika filling the kitchen. One evening, just as rain started tapping the windows, I improvised these Spanish-style stuffed peppers for dinner—what began as a practical way to clear out the fridge turned unexpectedly celebratory with that vibrant aroma and gooey cheese. The satisfaction of peeking into the oven to see them bubbling and golden never gets old. These stuffed peppers aren’t just dinner; they’re a little edible confetti at the end of a hectic day.
I once made a double batch for a weeknight dinner with friends from my Spanish class—everyone gathered around as we scooped filling into peppers, laughing when someone inevitably over-stuffed theirs and cheese spilled onto the counter. Later, as we ate together, there was a moment of quiet as that first warm, savory bite was taken—broken only by someone exclaiming, Where has this been all my life? That communal spirit (and those cheesy forks) stuck with me long after the dishes were done.
Ingredients
- Bell peppers: Use firm, large peppers so they hold up while baking—I like to mix red and yellow for extra color, and removing the seeds thoroughly ensures a sweet, clean flavor.
- Onion: Chopping the onion finely makes for a smoother filling and lets it melt into the background, adding sweet depth with every sautéed whiff.
- Garlic: Mincing it before adding helps evenly perfume the filling—I add it right after the onion starts to glisten, so it doesn’t burn.
- Tomato: Diced fresh tomato brings brightness; if it’s out of season, a canned equivalent works well but drain some liquid off first.
- Frozen peas: Toss them in straight from the freezer; they pop with color and sweetness that balances the meat and rice.
- Ground beef or pork: Use whichever you prefer, just break it up as it browns for a tender, crumbly texture—sometimes I use half and half for richness.
- Cooked white rice: Leftover rice is ideal since it won’t turn mushy; jasmine or basmati give a fragrant lift to the filling.
- Manchego or mozzarella cheese: Manchego adds a Spanish flair and a mellow nutty sharpness; if you go with mozzarella, try a bit of smoked variety for extra depth.
- Tomato sauce: Lends moisture and helps bind all the elements together—taste for salt as different brands vary wildly.
- Olive oil: A generous drizzle gives a silky edge to both the veggie sauté and the whole baked dish—good quality really does shine.
- Smoked paprika: Key for the authentic taste; its earthy, sweet smokiness cannot be skipped (trust me, I tried once—never again).
- Ground cumin: Offers warmth and a savory undertone that makes each bite moreish without overpowering other flavors.
- Chili flakes: Optional, but just a pinch makes things lively without searing your palate; adjust to your crowd’s bravery.
- Salt and black pepper: Season as you go—taste after the filling has come together, as the cheese and tomato sauce add their own punch.
- Fresh parsley: Chopped and scattered on top just before serving for color and herbal brightness that wakes everything up.
Tired of Takeout? 🥡
Get 10 meals you can make faster than delivery arrives. Seriously.
One email. No spam. Unsubscribe anytime.
Instructions
- Warm up the oven:
- Set your oven to 180°C (350°F) so it’s ready when you are—the peppers need steady heat to soften but not collapse.
- Cook the aromatics:
- Add olive oil to a big skillet on medium heat and wait for that gentle shimmer, then stir in onion; sauté until translucent and sweet, about four minutes, then let garlic join in for one fragrant minute more.
- Sizzle the meat:
- Next, add your ground beef or pork, crumbling it with a spoon and enjoying the rich, toasty smells as it browns, about 6–8 minutes until no longer pink.
- Stir in the veg and spices:
- Add tomato, peas (still frozen is fine), smoked paprika, cumin, chili flakes, and tomato sauce; season with salt and pepper, and let this merry mix simmer for four minutes until the filling thickens just a little.
- Cheesy rice magic:
- Take the skillet off the heat and tip in your cooked rice and shredded cheese—mix well so cheese melts across every grain and veggie fragment.
- Fill the peppers:
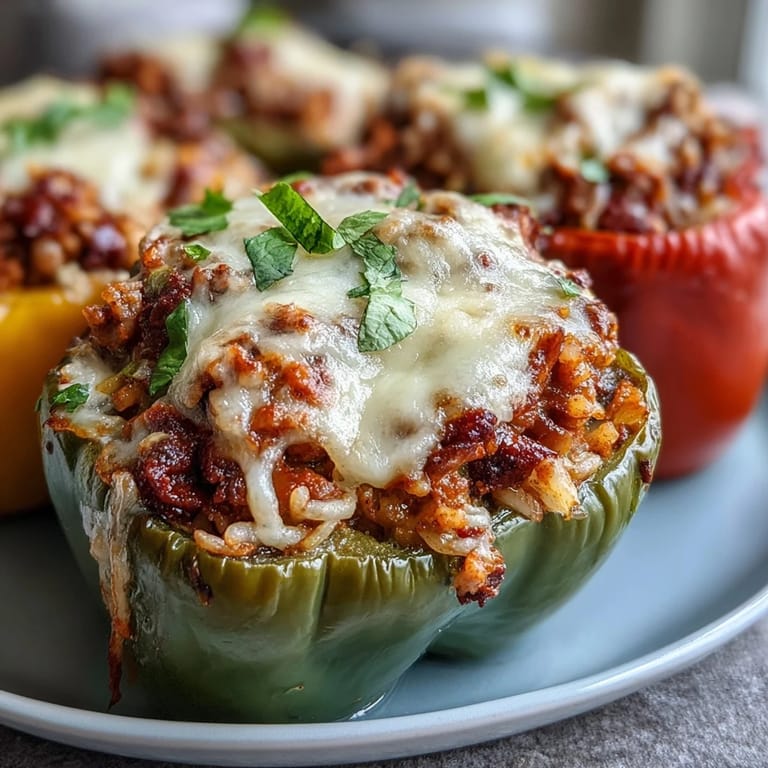
- Stand the hollowed peppers upright in a baking dish and spoon the filling inside, gently pressing so there aren’t any air pockets—pile the tops high and finish with extra cheese if it’s a cheesy day.
- Bake to golden
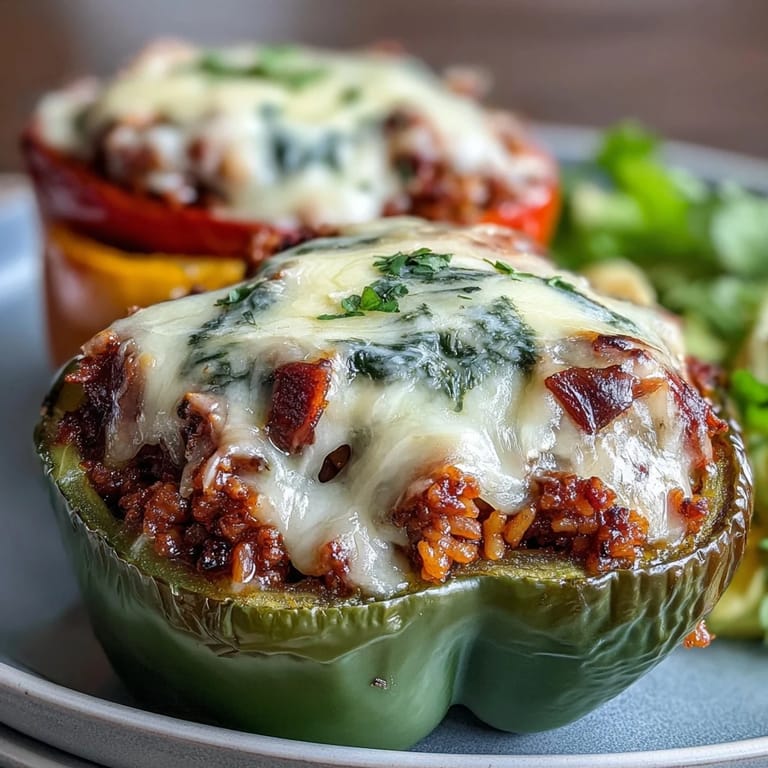
- Cover the dish with foil and slide it into the oven for 30 minutes; then remove the foil and bake 10–15 minutes more, watching for melted, bubbling, golden tops and checking that the pepper walls are fork tender.
- Final flourish and serve:
- Shower with fresh parsley just before serving and transfer each colorful pepper to a plate—they’ll be piping hot and irresistible.
 Save
Save Watching everyone around the table slow down and savor their stuffed peppers—sometimes with eyes closed, tasting the smoky paprika—gave the meal a sense of occasion I wasn’t expecting. It’s those silent, contented moments that make all the prep worth it.
Tricks for Picking the Best Bell Peppers
Give each pepper a gentle squeeze when shopping: they should feel firm and heavy, not soft or wrinkly. I avoid ones with blemishes or thin walls, since sturdy peppers hold the savory filling without splitting, and their sweetness intensifies in the oven for that perfect bite.
Creative Swaps and Add-Ins
Some nights, I’ve swapped out ground beef for plant-based sausage or even finely chopped mushrooms for a richer veggie version, and nobody missed the meat. A handful of chopped black olives or a few strips of roasted red peppers stirred into the filling brings out even more Spanish flair, while trying oat-based or nut cheeses kept the dish creamy for my lactose-intolerant friends.
Getting Ahead: Make-Ahead and Storage Tips
If you want to get a jump on dinner, prepare the filling a day ahead and store it tightly covered in the fridge (you can stuff and bake the peppers just before serving so they taste freshly made). Leftovers keep well for lunch the next day, and they reheat beautifully in the oven or microwave—just add a little extra cheese if you like.
- Let the peppers cool a bit before moving so they don’t collapse.
- Freeze individual baked peppers for up to a month; thaw before reheating.
- Store parsley separately and add it fresh at serving time for best color and flavor.
 Save
Save I hope making these stuffed peppers brings that same colorful vibrancy and sense of accomplishment to your kitchen. Don’t forget—sometimes a little cheese on the counter means you did it right.
Recipe Questions
- → What kind of meat works best for the filling?
Ground beef or pork are both traditional choices for a hearty, flavorful filling. You can also use a blend or substitute with plant-based alternatives or lentils for a vegetarian option.
- → Can I make this dish ahead of time?
Yes, you can prepare the filling and stuff the peppers in advance. When ready to eat, bake as directed. Reheating leftovers works well too.
- → Are there recommended cheese substitutions?
Manchego lends a Spanish flavor, but mozzarella, cheddar, or non-dairy cheeses can be used based on preference or dietary needs.
- → What spices give this dish its Spanish character?
Smoked paprika, cumin, garlic, and chili flakes create a deliciously smoky and slightly spicy profile, typical of Spanish-inspired dishes.
- → How do I achieve tender peppers without overbaking?
Cover the dish while baking to trap moisture, then uncover for the final minutes so the cheese can turn golden and the peppers become perfectly soft.
- → Is this main dish gluten-free?
Yes, as long as you use gluten-free rice and check for gluten in cheese labels, this dish remains naturally gluten-free.