 Save
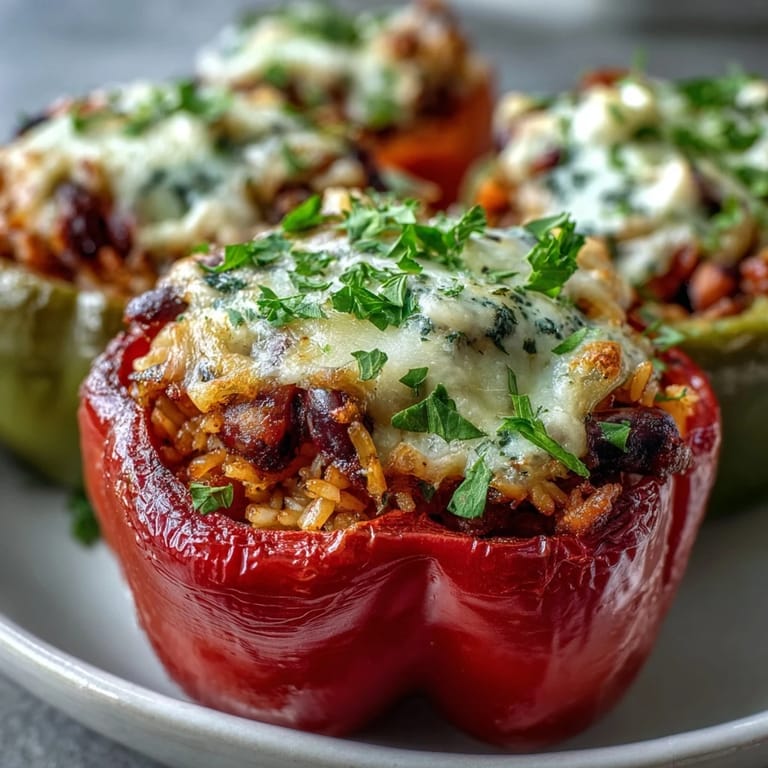
Save My neighbor Marcus showed up one Saturday with a bag of gorgeous bell peppers from his garden—reds, yellows, oranges—and honestly, I had no idea what to do with four of them. He mentioned his grandmother used to stuff them with black-eyed peas and rice, and something about that combination just clicked. That afternoon, I cobbled together what felt right, and when those peppers came out of the oven golden and fragrant, it became the kind of dish I keep making without thinking twice.
The first time I served this to a crowd was at a potluck where I was genuinely nervous about bringing a vegetarian main. A friend took one bite and asked for the recipe before she even finished chewing, and by the end of the night, the baking dish was spotless. That moment taught me that good food doesn't need to shout about what it is—it just needs to taste real.
Ingredients
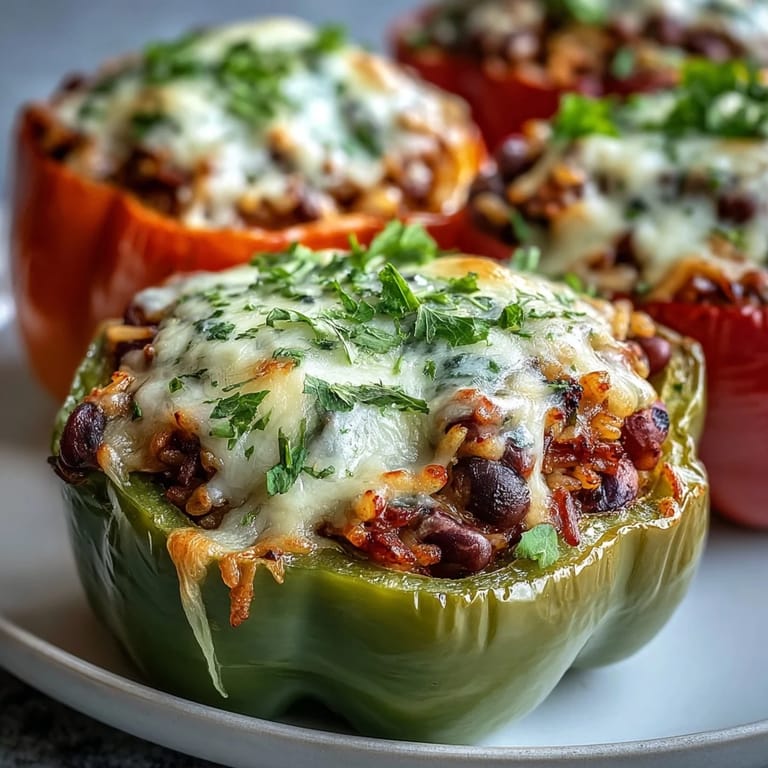
- Bell peppers (4 large, any color): The base of everything, and honestly, their color matters as much as their taste—go for a mix if you can, because it looks stunning on the plate and each color has its own subtle sweetness.
- Black-eyed peas (1 cup cooked): These beans have an earthy, slightly sweet flavor that plays beautifully with the spices, and they hold their shape better than you'd expect when baked.
- Long-grain rice (1 cup cooked): Brown rice adds nuttiness, white rice keeps things lighter—both work, so pick based on what you have sitting around.
- Onion, garlic, carrot, celery (finely chopped): This aromatic base is where the real flavor foundation lives, and taking time to dice them small means they soften perfectly and distribute evenly through every bite.
- Smoked paprika, cumin, thyme (1 tsp, 1 tsp, 1/2 tsp): These three are the secret team that transforms simple ingredients into something that smells like someone's been cooking all day.
- Olive oil (2 tablespoons): Use something you actually like the taste of, because you'll notice it here.
- Vegetable broth (1 cup): This steams the peppers from the bottom and keeps everything moist and tender instead of shriveled.
- Cheese (1/2 cup shredded, optional): A sharp cheddar or Monterey Jack melts beautifully and gets those golden, bubbly edges, but this dish sings without it too if you're going dairy-free.
- Fresh parsley (2 tablespoons, plus extra for garnish): Fresh herbs at the end make it taste alive, not just warm.
Tired of Takeout? 🥡
Get 10 meals you can make faster than delivery arrives. Seriously.
One email. No spam. Unsubscribe anytime.
Instructions
- Heat your oven and prep the peppers:
- Set your oven to 375°F (190°C) and slice the tops off those peppers, scooping out the seeds and any white bits inside. A light brush of olive oil on the outside of each one helps them brown beautifully and prevents them from drying out.
- Build the flavor base:
- In a large skillet over medium heat, warm 2 tablespoons of olive oil and add your chopped onion, garlic, carrot, and celery. You're looking for that moment when the kitchen starts to smell incredible—about 5 to 6 minutes—and the vegetables soften just enough to taste sweet.
- Bring the filling together:
- Stir in your cooked black-eyed peas and rice, then add smoked paprika, cumin, thyme, salt, pepper, and cayenne if you like a little heat. Mix everything for 2 to 3 minutes so the spices toast slightly and marry with the other flavors.
- Season and taste:
- Remove from heat, stir in your fresh parsley, and taste a spoonful. This is your moment to adjust salt or spices before it all goes into the peppers, so don't skip it.
- Fill and top:
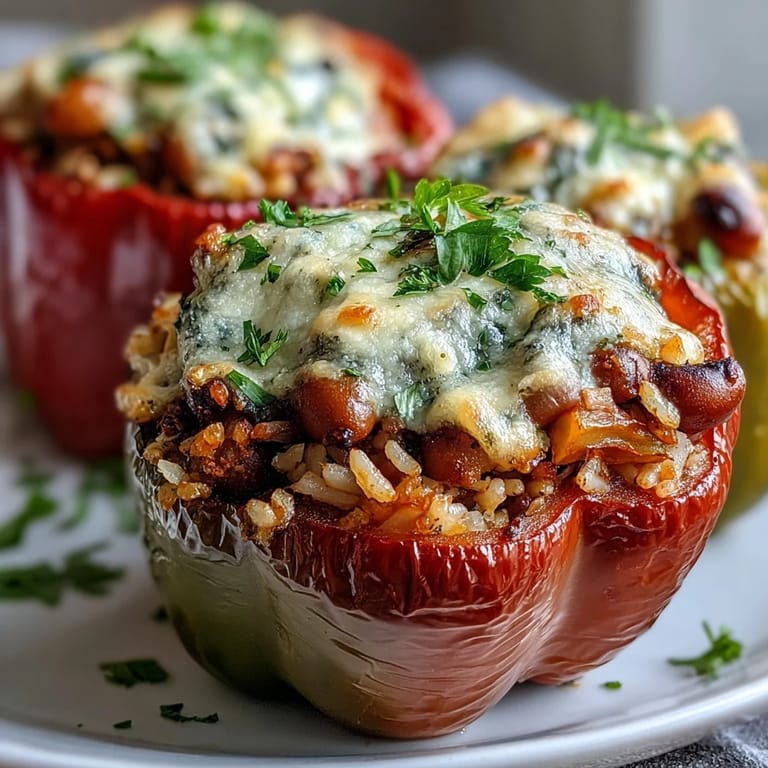
- Spoon the filling generously into each hollowed pepper, mounding it slightly on top. If you're using cheese, sprinkle it over the top where it'll get golden and bubbly.
- Create steam and start baking:
- Pour vegetable broth into the bottom of your baking dish (not over the peppers), cover tightly with foil, and slide into the oven. This traps steam and keeps the peppers tender rather than tough.
- Finish strong:
- After 30 minutes, remove the foil, bake for another 10 minutes until the peppers are soft enough to pierce with a fork and any cheese is golden. Let them cool for a few minutes before serving—they'll hold together better and taste even better.
 Save
Save There's something about watching someone cut into one of these peppers and seeing all those layers of color and texture that makes you feel like you actually know how to cook. It's the kind of dish that turns a regular weeknight into something that feels a little bit special.
Variations That Actually Work
Once you've made this once, you'll realize how flexible it is, and that's when the fun starts. I've added corn kernels for sweetness, diced tomatoes for brightness, and even crumbled tempeh when I wanted extra protein without the heaviness. One time I swapped half the rice for quinoa just because I had it open, and nobody could tell the difference except that it tasted slightly nuttier. The formula is solid enough that you can play with it.
Serving and Pairing Ideas
These peppers are perfectly happy standing alone as a main course, but they also play nicely with other things on the table. A crisp green salad with lemon dressing cuts through the richness beautifully, and if you want something warm alongside, crusty bread for soaking up any broth is never a bad call. I've even served them cold the next day as part of a lunch plate, and they're just as good.
Make-Ahead and Storage Wisdom
This is one of those dishes that actually tastes better the next day after the flavors have had time to settle into each other. You can prepare everything through the filling stage, refrigerate it in an airtight container, and bake it whenever you're ready—just add a few extra minutes to the cooking time if it's coming straight from the fridge. Leftovers keep for about three days, and reheating gently in a low oven brings them back to life without drying them out.
- Make it vegan by swapping cheese for nutritional yeast or a cashew cream if you want that richness factor.
- Freeze the unbaked, filled peppers for up to three months—just thaw in the fridge overnight before baking.
- If you're doubling this recipe, resist the urge to overcrowd the baking dish, because steam needs room to move around.
 Save
Save This recipe has become the one I reach for when I want to cook something that feels intentional but not stressful, something vegetarian that doesn't apologize for lacking meat, and something that turns simple pantry ingredients into a meal that tastes like it took way more effort than it did. That's the whole magic of it.
Recipe Questions
- → Can I make these stuffed peppers ahead of time?
Yes, prepare the filling and hollow the peppers up to a day in advance. Store components separately in the refrigerator, then assemble and bake when ready to serve.
- → What type of rice works best for the filling?
Long-grain white or brown rice both work well. Brown rice adds nutty flavor and extra fiber but may require slightly more seasoning to balance its hearty texture.
- → How do I know when the peppers are done baking?
Peppers are ready when they're tender when pierced with a fork and the filling is hot throughout. The cheese should be melted and golden, if using.
- → Can I freeze stuffed peppers?
Absolutely. Assemble unbaked peppers, wrap tightly, and freeze for up to three months. Thaw overnight in the refrigerator before baking as directed.
- → What sides pair well with this dish?
A crisp green salad with vinaigrette balances the heartiness. Crusty bread, cornbread, or roasted vegetables also complement the flavors beautifully.
- → Are black-eyed peas necessary, or can I substitute?
Black-eyed peas provide traditional flavor and protein, but you can substitute with black beans, pinto beans, or chickpeas. Each offers a slightly different taste profile.