 Save
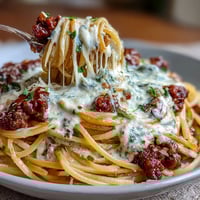
Save This hearty Cheeseburger Rice Skillet has become my go-to dinner solution on busy weeknights when we're craving comfort food without the fuss. The combination of juicy beef, melty cheese, and that surprising pickle crunch topping transforms simple ingredients into a meal that satisfies those burger cravings without the buns.
I created this recipe during a particularly chaotic week when I realized I had forgotten hamburger buns at the store. My disappointed family quickly changed their tune when they tasted this skillet version that captures all the flavors of their favorite fast food in a hearty, home-cooked meal.
Ingredients
- Lean ground beef: provides the classic burger flavor while keeping the dish from becoming too greasy. Look for 85/15 or 90/10 lean-to-fat ratio for best results.
- Yellow onion: adds sweetness when cooked. Choose one that feels firm with papery skin for freshness.
- Garlic cloves: bring essential aromatic flavor. Fresh is best here rather than pre-minced.
- Diced tomato: contributes acidity and freshness. Use a ripe but firm tomato for best texture.
- Dill pickles: are the secret star. Select crisp, refrigerated pickles rather than shelf-stable for better crunch.
- Long-grain white rice: absorbs all the savory flavors. Rinse it first for fluffier results.
- Cheddar cheese: creates that gooey cheeseburger experience. Freshly shredded melts better than pre-packaged.
- Beef broth: forms the cooking liquid for the rice. Low-sodium allows you to control salt levels.
- Ketchup and mustard: bring authentic burger flavor. Use quality brands for best taste.
- Worcestershire sauce: adds umami depth. Just a tablespoon transforms the entire dish.
- Crispy fried onions: create textural contrast in the topping. French's or homemade both work wonderfully.
Tired of Takeout? 🥡
Get 10 meals you can make faster than delivery arrives. Seriously.
One email. No spam. Unsubscribe anytime.
Instructions
- Brown the Beef:
- Heat olive oil in a large skillet over medium-high heat until shimmering but not smoking. Add ground beef and break it into small pieces with a wooden spoon. Cook until no pink remains and meat develops some browned edges, about 5 minutes. The browning creates flavor compounds that are essential to the dish. If there's excessive fat, tilt the pan and spoon off all but about a tablespoon.
- Build the Flavor Base:
- Add diced onion and minced garlic to the browned beef. Reduce heat to medium and cook until onions become translucent and slightly golden, about 2 to 3 minutes. Stir frequently to prevent garlic from burning, which would introduce bitterness. The aromatics will become fragrant and begin to sweeten as they cook.
- Incorporate Burger Elements:
- Add the diced tomato and half the chopped pickles to the skillet. Cook for 2 minutes, stirring occasionally. The tomatoes will begin to soften and release their juices, while the pickles infuse their tangy brine flavor throughout the mixture. This step builds the distinct cheeseburger profile.
- Prepare the Rice Base:
- Add uncooked rice, ketchup, mustard, Worcestershire sauce, and beef broth to the skillet. Stir thoroughly to ensure rice is evenly distributed and submerged in liquid. Season with salt and black pepper according to your taste preferences. The condiments will color the rice mixture and distribute classic burger flavors throughout.
- Simmer Until Tender:
- Bring the mixture to a gentle simmer with small bubbles appearing around the edges. Reduce heat to low, cover with a tight-fitting lid, and cook undisturbed for 18 to 20 minutes. The rice will absorb the flavorful liquid and become tender. Resist the urge to stir or peek too often as this releases essential steam.
- Create Creamy Texture:
- Remove the skillet from heat once rice is tender and liquid is mostly absorbed. Stir in milk and 1 cup of shredded cheddar cheese until completely melted and incorporated. The mixture will become creamy and rich, resembling the melty cheese component of a perfect cheeseburger.
- Melt Final Cheese Layer:
- Sprinkle remaining half cup of cheddar cheese evenly across the top of the skillet. Cover with the lid and let stand off the heat for 2 to 3 minutes. The residual heat will gently melt the cheese into an irresistible layer without overcooking the dish.
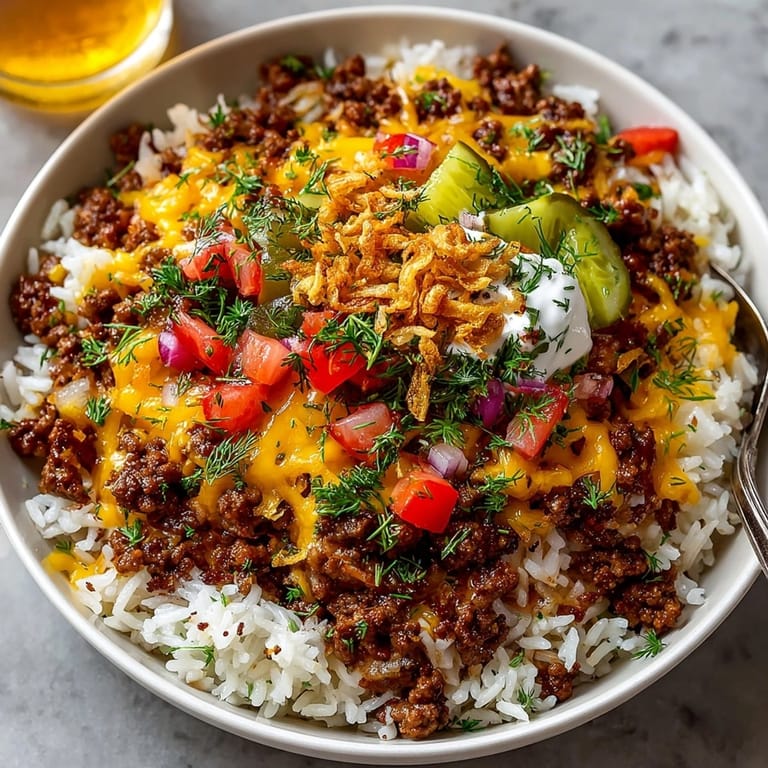
- Add Pickle Crunch Topping:
- In a small bowl, combine the remaining chopped pickles with crispy fried onions. Just before serving, sprinkle this mixture generously over the melted cheese layer. This crucial step adds textural contrast and a fresh burst of tangy pickle flavor that makes the dish truly special.
 Save
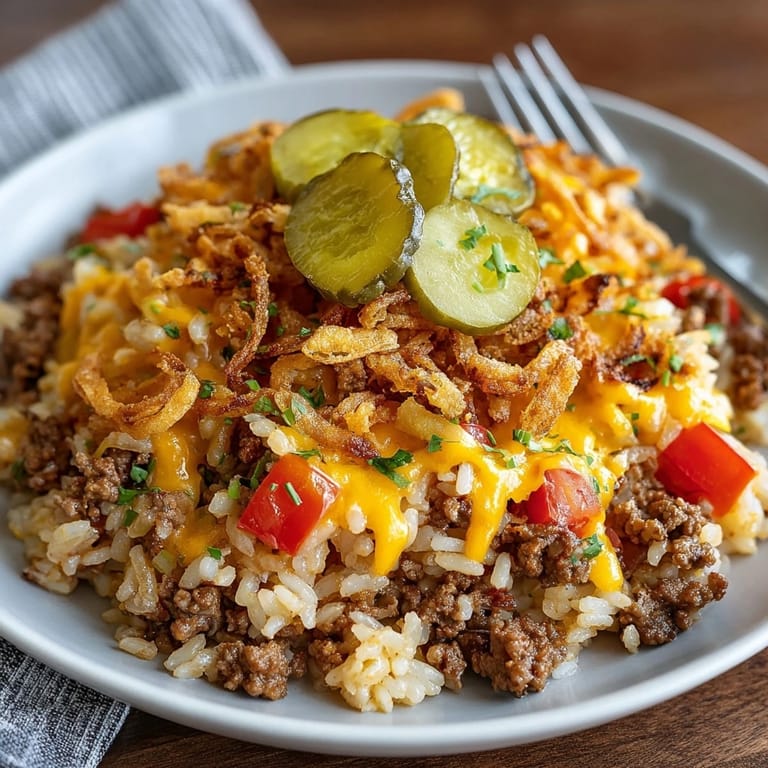
Save The dill pickles are truly what make this dish special. I discovered this accidentally when my pickle-obsessed son dumped extra pickles into the skillet one night. The bright, tangy crunch against the savory, creamy base created such a perfect contrast that it became a permanent addition. Now my family actually argues over who gets the corner pieces with the most pickle topping!
Make-Ahead Instructions
This skillet dish actually improves with time as flavors meld together. You can prepare it entirely up to the cheese-melting step, cool completely, and refrigerate for up to 3 days. When ready to serve, reheat in a 350°F oven for about 20 minutes with a splash of broth to refresh the moisture, then add the final cheese layer and pickle crunch topping just before serving.
Ingredient Substitutions
The beauty of this recipe lies in its flexibility. Ground turkey or chicken works beautifully as a lighter alternative to beef. For vegetarians, plant-based ground meat substitutes integrate seamlessly. Brown rice can replace white rice for added fiber and nutrition, though you'll need to increase cooking time by about 15 minutes and potentially add an extra 1/2 cup of broth. For dairy sensitivities, dairy-free cheese alternatives will work, though they won't melt quite as smoothly as traditional cheddar.
Serving Suggestions
While this dish is certainly complete on its own, a few simple sides can elevate the meal even further. A crisp green salad with a vinaigrette dressing provides refreshing contrast to the rich skillet. For a true diner experience, serve small dishes of extra ketchup, mustard, and even burger relish alongside for custom topping. During summer months, fresh sliced tomatoes and lettuce can be offered as toppings to mimic the fresh elements of a traditional burger.
Kid-Friendly Adaptations
This dish is already a hit with children, but you can make it even more appealing by serving it in fun ways. Consider scooping portions into hollowed-out bell pepper halves for "burger boats" or wrapping in large lettuce leaves for hand-held "burger wraps." For picky eaters, you can easily dial back the pickle flavor by using less in the mixture and serving extra on the side for those who want more.
 Save
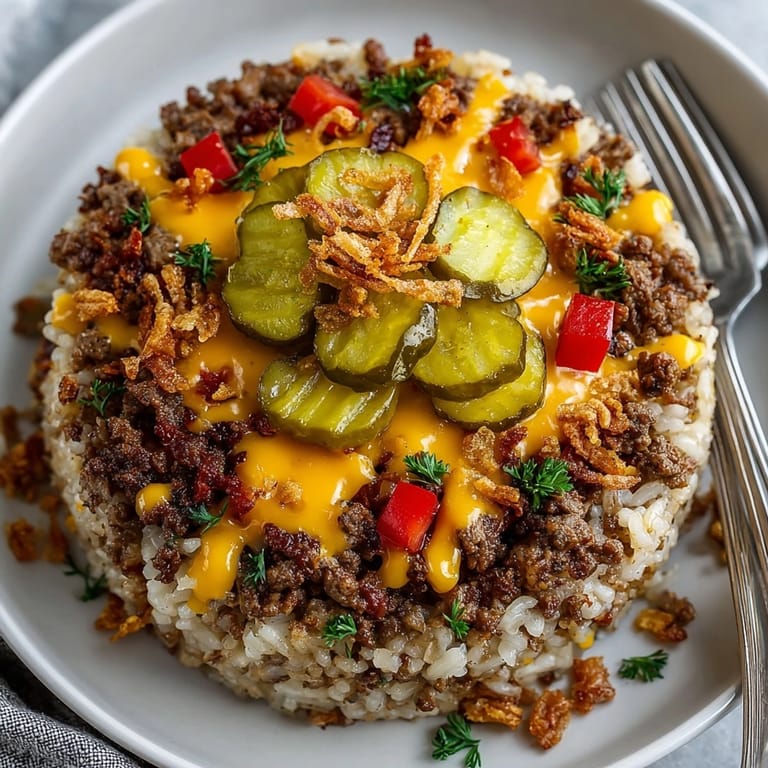
Save This hearty skillet is a flavor-packed alternative to traditional burgers. Enjoy the convenience and deliciousness of all your favorite cheeseburger flavors in one easy pan.
Recipe Questions
- → Can this dish be made gluten-free?
Yes, ensure that your pickles, condiments, and crispy fried onions are gluten-free to keep this meal suitable for gluten-free diets.
- → Is it possible to use brown rice?
Brown rice works, but allow extra cooking time and monitor liquid—add more broth if needed for proper texture.
- → What protein alternatives work well?
Try ground turkey, chicken, or a plant-based substitute for a lighter or vegetarian-friendly twist.
- → How do I make it spicier?
Add diced jalapeños to the skillet or top with hot sauce for added heat and flavor.
- → What sides pair nicely with this meal?
Fresh green salads, extra pickles, or classic condiments like ketchup and mustard complement this dish perfectly.
- → Can I prepare this ahead of time?
The skillet can be made ahead and reheated. Add the pickle crunch topping just before serving for best texture.