 Save
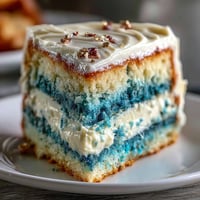
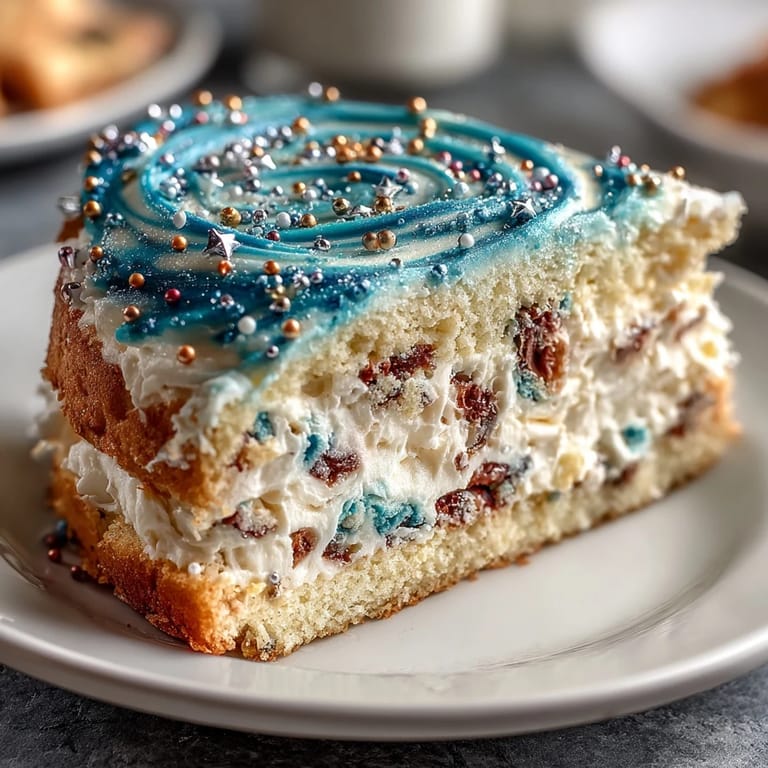
Save My friend Sarah called me three weeks before her graduation, voice trembling with excitement and panic in equal measure. She wanted something spectacular for her celebration dinner, something that would make her guests gasp when they walked in. I found myself scrolling through galaxy cake images at midnight, mesmerized by the swirling purples and teals, and realized this was exactly the moment that cake existed for. The next morning, I started experimenting with buttercream colors and discovered that layering spoonfuls of different hues created the most magical, unpredictable marbling effect—nothing about it felt forced or stiff, just like Sarah herself.
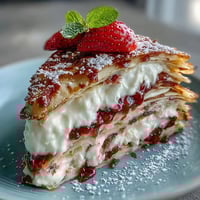
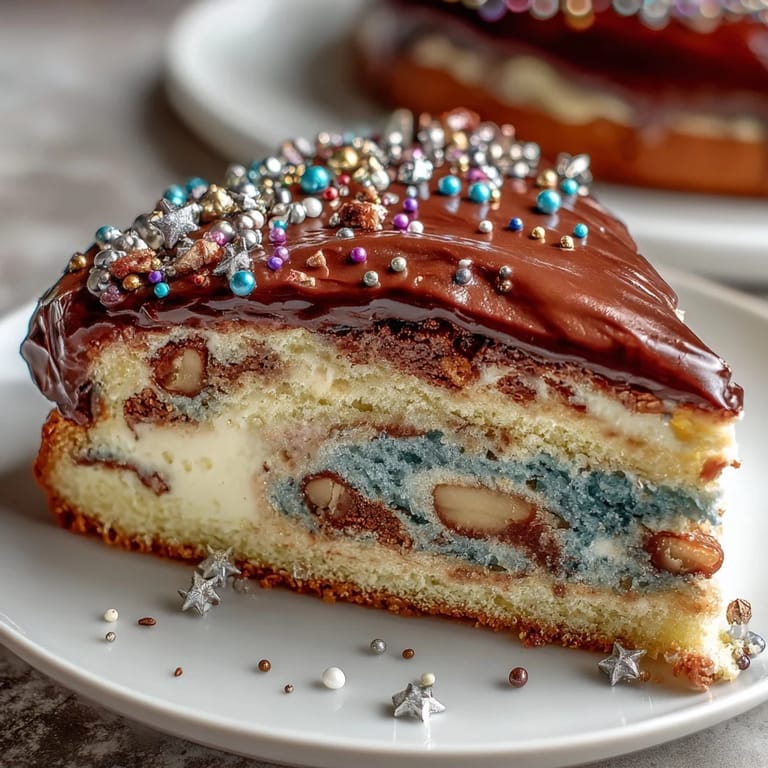
Watching Sarah's face when she saw the finished cake sitting on her dining room table was everything. Her mother actually teared up, and suddenly this wasn't just about creating something beautiful—it was about marking a moment that mattered. She cut into it surrounded by friends and family, and the chocolate cake revealed layers of graham cracker crust and lemon curd that sang against the celestial frosting above.
Ingredients
- All-purpose flour (2 ½ cups): The foundation of a tender, delicate crumb that holds up beautifully under the weight of frosting without crumbling.
- Granulated sugar (2 cups): Creates the light, fluffy texture you need when creamed properly with butter—don't rush this step.
- Unsalted butter (1 cup, plus 1 ½ cups more for frosting): Use softened butter at room temperature or you'll fight the mixer and end up with lumpy frosting.
- Large eggs (4, room temperature): Room temperature eggs incorporate more smoothly and create a more cohesive batter than cold ones straight from the fridge.
- Whole milk (1 cup for cake, plus ¼ cup for frosting): Room temperature milk ensures even mixing without shocking the warm batter.
- Baking powder (2 ½ tsp): The secret lift that gives you three perfect, even layers without tunneling.
- Vanilla extract (1 tbsp for cake, 2 tsp for frosting): Use pure vanilla, not imitation—you'll taste the difference in every bite.
- Powdered sugar (5 cups, sifted): Sifting removes lumps and prevents grainy frosting that feels gritty on your tongue.
- Gel food coloring (black, navy blue, purple, pink, teal): Gel colors create vibrant hues without thinning your buttercream like liquid food coloring does.
- Edible gold and silver star sprinkles: These create the finishing magic—check the packaging for nut warnings if allergies are a concern.
- Edible glitter or luster dust: A final shimmer that catches light and makes the whole cake feel celestial.
Tired of Takeout? 🥡
Get 10 meals you can make faster than delivery arrives. Seriously.
One email. No spam. Unsubscribe anytime.
Instructions
- Prepare Your Pans and Preheat:
- Set your oven to 350°F and while it's warming, grease three 8-inch round pans and line the bottoms with parchment paper—this prevents sticking and makes releasing the cakes foolproof. I learned this the hard way after a cake stuck to the pan and broke into three pieces.
- Cream the Butter and Sugar:
- Beat the softened butter with granulated sugar for about 3–4 minutes until it looks pale, fluffy, and almost mousse-like. This incorporates air into the batter and creates that tender, delicate crumb.
- Incorporate the Eggs:
- Add eggs one at a time, beating well after each addition so each egg fully emulsifies before the next one goes in. If you rush this, you'll end up with a broken, curdled-looking batter that still works but feels wrong.
- Mix in the Vanilla:
- Stir in the vanilla extract until the mixture is completely homogeneous and smells amazing.
- Combine Dry Ingredients:
- In a separate bowl, whisk together flour, baking powder, and salt—this distributes the leavening evenly and prevents lumps in the finished cake.
- Alternate Wet and Dry Ingredients:
- Add the dry mixture in three parts, alternating with milk in two parts, starting and ending with flour. Mix gently until just combined; overmixing activates gluten and makes the cake tough.
- Distribute Batter and Bake:
- Divide the batter evenly among the pans and bake for 30–35 minutes until a toothpick inserted in the center comes out clean or with just a few crumbs. The kitchen will smell like vanilla and butter—that's how you know you're winning.
- Cool the Cakes:
- Let them rest in the pans for 10 minutes, then turn them out onto wire racks to cool completely. Frosting warm cake will make your buttercream melt and slide.
- Prepare the Buttercream Base:
- Beat softened butter until it's creamy and pale, then gradually add the sifted powdered sugar a cup at a time. This prevents lumps and ensures smooth, spreadable frosting.
- Add Milk and Vanilla to Buttercream:
- Pour in the milk and vanilla extract and beat on high for 2–3 minutes until the frosting is light, fluffy, and slightly whipped.
- Divide and Tint with Galaxy Colors:
- Separate the frosting into four or five bowls and add a different gel color to each—black, navy blue, purple, pink, and teal create that authentic galaxy effect. Start with a tiny amount of gel coloring and add more until you reach the vibrancy you want.
- Create the Galaxy Frosting Log:
- This is the magic moment: place random spoonfuls of each colored frosting onto a piece of plastic wrap, then roll it up loosely into a log. Snip one end and transfer it to a piping bag fitted with a large round tip—when you pipe, the colors swirl together in unexpected, beautiful ways.
- Layer and Crumb Coat:
- Place one cake layer on a serving plate, spread a thin layer of galaxy frosting, and repeat with the remaining layers. Apply a thin crumb coat all over the cake and chill for 20 minutes so the final frosting adheres smoothly.
- Create the Galaxy Effect:
- Pipe and spread the galaxy buttercream over the cake with an offset spatula, using gentle, swirling motions to blend the colors into a marbled, nebula-like effect. Don't overthink this—the imperfect swirls are what make it look real.
- Paint the Stars:
- Mix white gel food coloring with a tiny bit of water to create a paint-like consistency, then use a food-safe paintbrush or splatter tool to flick white stars across the surface. This adds depth and makes the galaxy feel three-dimensional.
- Add the Final Sparkle:
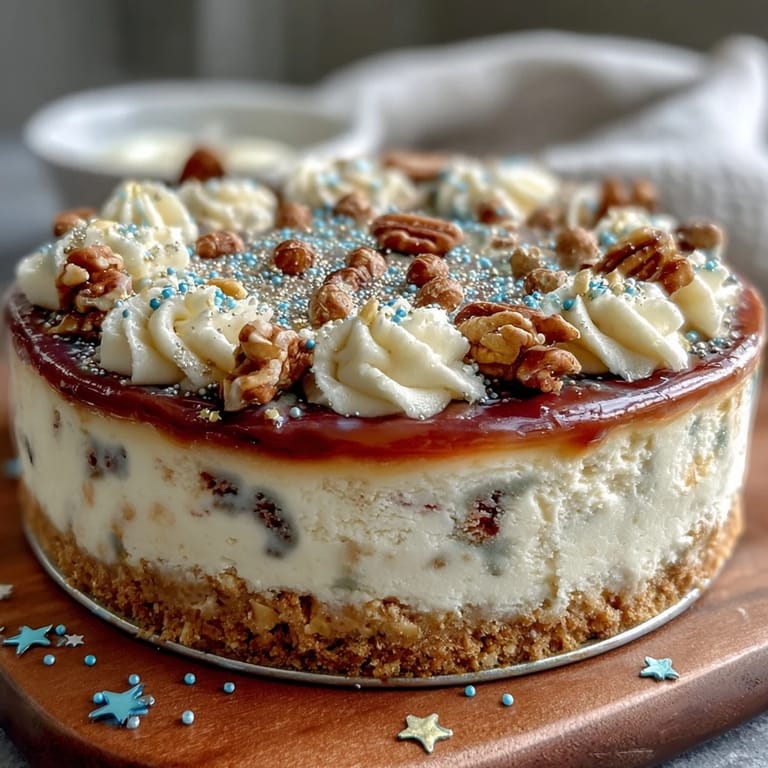
- Scatter edible gold and silver star sprinkles across the cake and dust with edible glitter or luster dust for that celestial shimmer. If you're feeling festive, top with a graduation cap cake topper.
 Save
Save Two days after Sarah's party, she texted me a photo of the leftover cake with a note: her grandmother had eaten three slices and asked for the recipe, and her little cousin declared it the most beautiful thing she'd ever seen. That's when I realized this cake does something beyond just tasting good—it creates moments people want to remember and share.
Why Gel Food Coloring Changes Everything
Liquid food coloring will thin out your frosting and force you to add more powdered sugar to compensate, which makes it grainy and less luxurious. Gel coloring is thicker and more concentrated, so you need just a tiny amount to achieve those deep, vibrant galaxy hues without altering the frosting's texture. I made this mistake once and ended up with frosting that looked dusty instead of jewel-toned, and I've never looked back since.
The Frosting Log Technique Explained
When you roll spoonfuls of different colored frosting in plastic wrap and pipe it, the colors don't fully blend—they create this organic, marbled effect that looks intentional and sophisticated. The key is using random spoonfuls instead of neat stripes, which makes each swirl unique. Trust the chaos; it's what makes this method work so much better than trying to hand-swirl colors on top of the cake.
Timing and Storage Tips
You can bake the cake layers a full day ahead and wrap them tightly in plastic wrap, which actually lets the crumb set and become easier to frost. The frosting is best applied on the day of serving, but the decorated cake holds beautifully in a cool room (ideally below 72°F) for up to 8 hours without the frosting softening.
- Freeze unfrosted cake layers for up to three weeks if you want to bake ahead for a big celebration.
- Keep the decorated cake away from direct sunlight and heat sources, which will make the edible glitter dull and the frosting melt.
- Slice with a hot, wet knife (wipe after each slice) for clean, beautiful pieces that showcase the galaxy frosting.
 Save
Save This cake isn't just about impressing people at a party; it's about creating something with your hands that makes someone feel celebrated and seen. When you hand someone a slice of this galaxy cake, you're giving them a moment worth remembering.
Recipe Questions
- → How do I achieve the galaxy buttercream effect?
Divide tinted buttercream into several colors and roll spoonfuls together before piping. Swirl gently with a spatula for a marbled look.
- → What is the best way to apply edible stars?
Use a food-safe paintbrush or splatter tool dipped in white gel coloring to flick stars, then embellish with edible glitter and star sprinkles.
- → Can I add flavor layers between the cake?
Yes, adding raspberry or blueberry jam between layers enhances flavor and complements the rich buttercream.
- → How long should I chill the crumb-coated cake?
Chill the crumb coat for about 20 minutes to set it before applying the final buttercream layers.
- → Are there any allergen concerns?
This cake contains wheat, eggs, and dairy. Star sprinkles may have traces of nuts; verify packaging to confirm safety.