 Save
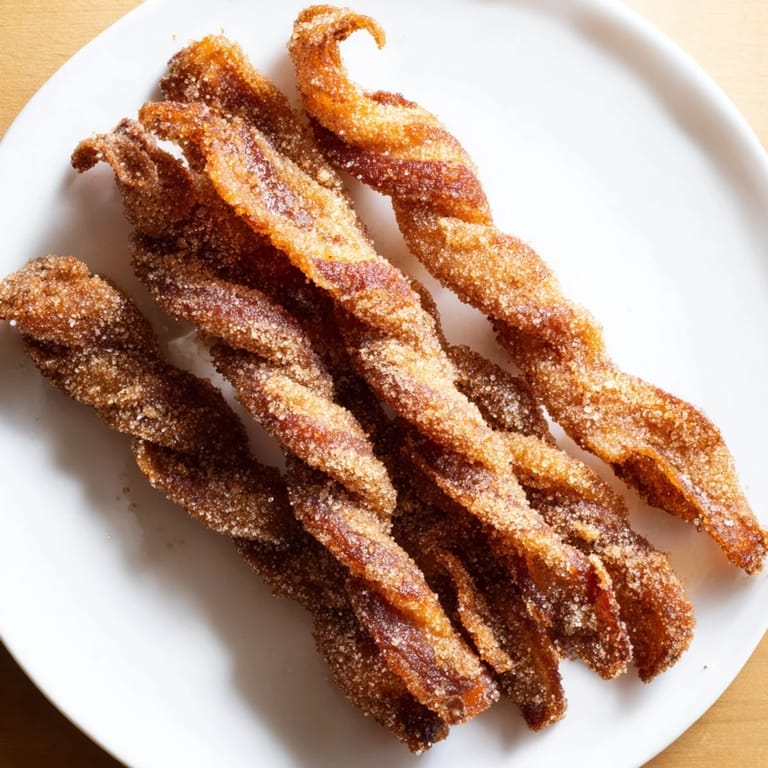
Save I discovered these by accident one Saturday morning when I had bacon, brown sugar, and a craving for something more interesting than scrambled eggs. My roommate walked into the kitchen mid-twist, laughing at the scene, and before long we were both standing at the oven watching them caramelize like candy. That burnt-sugar-and-bacon smell? It's basically a flavor memory now, the kind that makes people turn their heads when you're cooking.
I made these for a book club once, thinking they'd be a nice touch, and honestly they became the whole event. Someone asked for the recipe before we even opened the wine, and now three different people in that group make them regularly. There's something about the simplicity of it that makes people feel like they can actually recreate it at home.
Ingredients
- 12 slices thick-cut bacon: Use the thickest bacon you can find—thin-cut bacon will become too brittle and you'll lose the satisfying snap when you bite into it.
- 1/3 cup light brown sugar, packed: Pack it down when measuring because it matters more than you'd think for getting that caramelized crust.
- 1 teaspoon ground cinnamon: Fresh cinnamon makes a real difference here, so check your tin and replace it if it's been sitting for more than a year.
- 1/8 teaspoon cayenne pepper (optional): The heat is barely noticeable but it somehow makes everything taste better, so I almost always include it.
Tired of Takeout? 🥡
Get 10 meals you can make faster than delivery arrives. Seriously.
One email. No spam. Unsubscribe anytime.
Instructions
- Set the stage:
- Preheat your oven to 350°F and line a baking sheet with parchment paper or foil. Nestle a wire rack on top—this is the secret that keeps the bacon from sitting in its own rendered fat and getting greasy instead of crispy.
- Make your sugar coat:
- Combine the brown sugar, cinnamon, and cayenne in a shallow dish, mixing until there are no lumps and everything is evenly combined. This part genuinely takes thirty seconds but matters for the coating.
- Dress the bacon:
- One slice at a time, press both sides into the sugar mixture until they're generously coated. It'll feel like you're using too much, but you're not—that coating is what creates the caramelized crust.
- Create the twists:
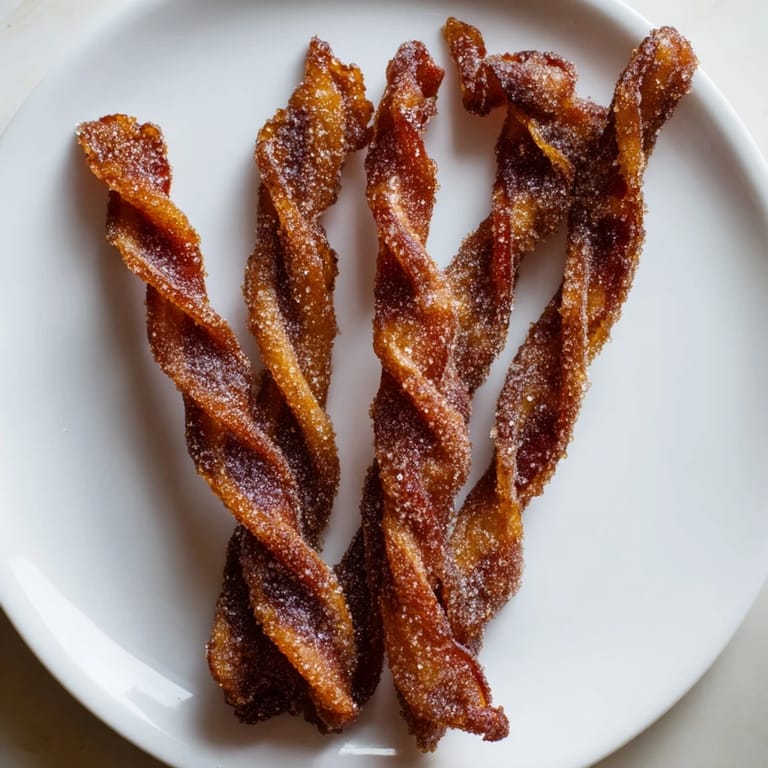
- Pick up each coated slice and twist it several times along its length to create a spiral shape, then lay it on the rack with a bit of space between each one. The twisting is the fun part and it actually helps it cook more evenly.
- Final flourish:
- Sprinkle any stray sugar mixture over the twists before they go into the oven. Those random pieces will caramelize and create little flavor bombs.
- Bake and rotate:
- Bake for 25 to 30 minutes, rotating the tray halfway through so everything cooks evenly. You'll know they're done when the edges are dark and caramelized and the bacon is completely crisp.
- Cool and set:
- Let them sit for 5 minutes after pulling them from the oven—this brief rest lets the caramelized coating firm up and actually makes them taste better.
 Save
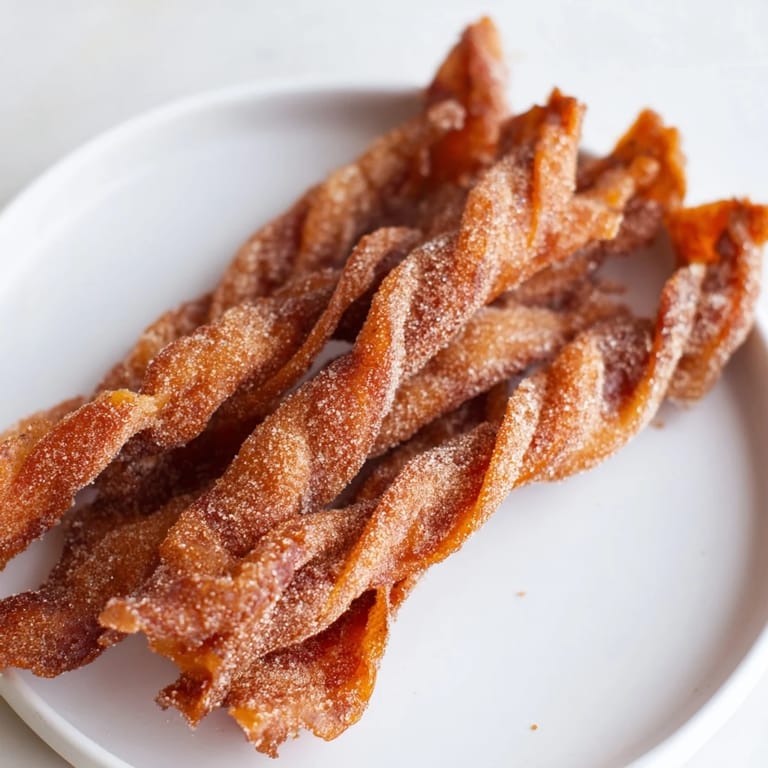
Save My partner now requests these whenever people are coming over, and I've started making double batches because they disappear faster than anything else on the plate. There's something genuinely special about food that manages to be both indulgent and easy at the same time.
The Science of the Caramelization
The magic happens at around the 350°F mark when the sugar doesn't just melt but actually undergoes the Maillard reaction, creating that deep caramel color and complex flavor. The bacon fat renders out and combines with the sugar to form a glaze that's crisp when cool but almost fragile when warm. Understanding this is less important than knowing that rotating the tray halfway through prevents some parts from burning while others stay pale.
Flavor Combinations Worth Trying
Once you've made these a few times and understand the template, the variations become obvious. Maple sugar creates a different kind of sweetness, while a pinch of nutmeg adds a kind of autumn warmth that feels less straightforward than the cinnamon. I've even added black pepper for a completely different direction, though that one divided opinions at the brunch table.
When and How to Serve Them
These work at a fancy brunch next to pastries, they work as a cocktail snack at a dinner party, and they work standing in front of the oven while they're still warm enough to burn your fingers. I've also crumbled them over salads and roasted vegetables, which adds a salty-sweet element that feels almost unexpectedly sophisticated.
- Serve them warm or at room temperature, though warm is definitely better.
- If you're making them ahead, store them in an airtight container and they'll stay crispy for a couple of days.
- Reheat gently in a 250°F oven if they lose their snap, just for five minutes or so.
 Save
Save These spiced bacon twists have somehow become one of those recipes that feels both deeply simple and genuinely impressive, which is honestly the sweet spot for home cooking. They're proof that sometimes the best kitchen discoveries come from having a few basics on hand and being willing to experiment.
Recipe Questions
- → What type of bacon works best for these twists?
Thick-cut bacon is recommended as it holds its shape well when twisted and crisps up nicely during baking.
- → Can I adjust the spice level?
Yes, increasing cayenne pepper adds heat, or you can omit it for a milder, sweeter profile.
- → How do I prevent the twists from sticking to the pan?
Using a wire rack over a lined baking sheet allows air circulation and prevents sticking while ensuring even crisping.
- → Are there alternative sweeteners to brown sugar?
Maple sugar or blends with nutmeg can add unique flavors while maintaining sweetness and caramelization.
- → Can these twists be prepared ahead of time?
Yes, you can prepare the sugar mixture and twist the bacon in advance, then bake just before serving for best texture.